The project describes how we can control home lights with the help of the touch sensor and Arduino.
The project describes how we can control home lights with the help of the touch sensor and Arduino.
About the Project
The capacitive touch sensor is the generally used type in the touch sensor segment. The touch sensor is an essential and generally used input device to communicate with a microcontroller.
Know more about IoT Training Online for a detailed analysis of IoT Devices.
Touch Sensor
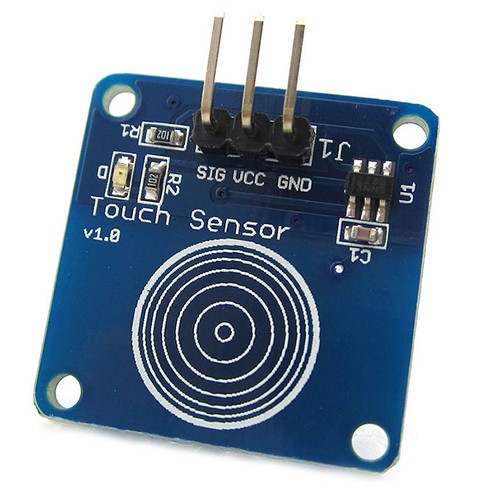
The touch sensor, which will be utilized for this project is a capacitive touch sensor module and the sensor driver depends on the driver IC TTP223. The operating voltage of the touch sensor TTP223 IC is from the 2 V to 5.5 V and the current utilization of the touch sensor is very low.
Due to the economical, low current utilization and simple to integrate support, the touch sensor with TTP223 becomes well known in the capacitive touch sensor segment.
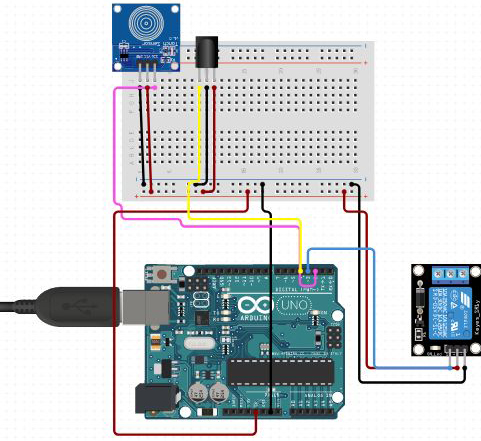
The transistor is utilized to switch on or off the Relay. This is because the Arduino GPIO pins are not able to give sufficient current to drive the Relay. The 1N4007 is needed for EMI blocking during Relay on or off the situation.
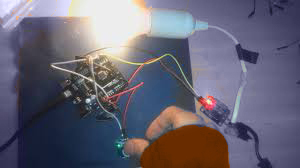
In the project, we have used the touch sensor to control a Light Bulb as ON or OFF using Arduino UNO and Relay.
#include <Arduino.h>

//#define ON 1
//#define OFF 0

/*
 * Pin Description
 */
int Touch_Sensor = A5;
int LED = 13;
int Relay = A4;

/*
 * Programme flow Description
 */
int condition = 0;
int state = 0; //To hold the switch state.

/*
 * Pin mode setup
 */
void setup() {
pinMode(Touch_Sensor, INPUT);
pinMode(LED, OUTPUT);
pinMode(Relay, OUTPUT);
}

void loop() {
condition = digitalRead(A5); // Reading digital data from the A5 Pin of the Arduino.

if(condition == 1){
delay(250); // de-bounce delay.
if(condition == 1){
state = ~state; // Changing the state of the switch.
digitalWrite(LED, state);
digitalWrite(Relay, state);
}
}
}


