Do you want to set a customized name and password for your bluetooth devices and robots!? then read this tutorial to help through.
Hey guys! I Hope you already enjoyed my previous tutorial "High torque servo motor control". This is another informative tutorial to teach you how to interface with your Bluetooth module and configure its settings through AT commands, so if you want to change your Arduino Bluetooth name or password or any other Bluetooth paramerters, this will be the best guide for you to achieve it.
During the making of this tutorial, we tried to make sure that this article will be the best guide for you in order to enjoy learning the basics of how the bluetooth modules operates under AT command mode and learn some useful information about how to use properly the AT command set.
Such details are so important especially for those who want to start electronics and robotics learning. so we hope that this tutorial contains the needed documents.
- Learn the history of AT command appearance.
- Understand the differance between HC bluetooth modules.
- Learn the hardware of the HC Bluetooth module.
- Make the appropriate wiring diagram with an Arduino board.
- Set the Bluetooth to AT command mode.
- Start the Bluetooth new settings
Starting with the project description, we will customize the Bluetooth module parameters, but how could we communicate with the Bluetooth modules!
Like many other devices Bluetooth modules accept the communication through AT commands to configure them settings like name, password, baud rate and other settings.
Backing to the year 1981 Dennis Hayes invented a specific command language to interface the “Hayes smartmodem device” and this command language set consists of a series of short text strings which can be combined to produce commands for operations such as dialing, hanging up, and changing the parameters of the connection. From here it comes the idea to develop more and more the Hayes set or the AT commands set to interface more devices using some sort of prefix character.
Like the other devices, the Bluetooth modules has AT command mode where you can interface them using AT commands to set them parameters.
So in order to send AT commands to a Bluetooth module we need first to turn it to AT command mode.
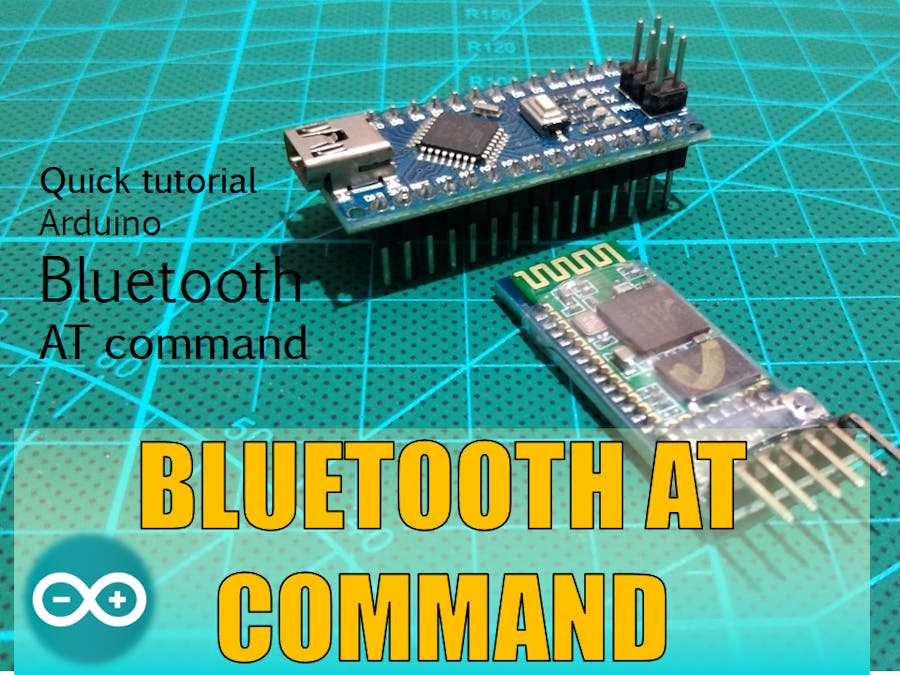
The most popular Bluetooth modules are the HC-06 and the HC-05 module which will be used in our tutorial.
It is hard to distinguish between these two Bluetooth just by seeing, but using a breakout board the difference is on the pins.
For our HC-05 module we have all these six pins :
- KEY or Enable: This pin has to be pulled high to enter AT mode. In our Bluetooth module we already have a push button so important to establish the pull high set of the KEY pin
- VCC and GND for power supply.
- RXD and TXD for serial input/output data
- STATE pin, just ignore it because probably it is not connected to none of the Bluetooth pins and we will not need it in this tutorial.
I will use the Arduino board to send the serial AT commands to my Bluetooth module.
I moved to easyEDA to create my circuit diagram for this tutorial and here is how to wire the bluetooth module to the Arduino, all what it takes is the pin number 3 from Arduino to RXD of the Bluetooth and the pin number 2 of the Arduino to TXD of the Bluetooth, GND to GND and VCC to Arduino 5V.
Moving to the software part, as I already mentioned we will be using Arduino board to communicate with the Bluetooth.
Once we power the Arduino we will have the Bluetooth LED blinking fast in an interval of half of a second that means the AT mode wasn’t entered so before powering the Arduino just hold the push button pressed and then power your Arduino, as a result you will have the LED blinking slower in an interval of 2 seconds which indicates the successful entering of the AT command mode. Now we run the Arduino serial monitor or any other serial monitor like teraterms to start sending the AT commands, you can get the AT commands document from the download link below, this document shows the available AT commands list for our Bluetooth module.
In order to start the settings we run the serial monitor and we set the baud rate to 9600 and both NL & carriage return, now if you send the characters AT through the serial monitor you should get a OK response from the Bluetooth module.
We will start by setting the Baud rate to 9600BPS and to do so we need to write AT+UART=9600, 0, 0 then hit enter, in every successful operation you need to get a OK response from the Bluetooth module
We will change also the Bluetooth name to Device1 so we write AT+NAME=Device1
And we will change the Bluetooth password as well to 2020 so we write AT+PSWD=2020
Many other AT instructions are available regarding the use of the Bluetooth module so all you need to do is downloading the document attached to the link below and read it to get the right AT command that you need.
Following this tutorial you will be able now to customize the Bluetooth of your robots and devices and you can run them like professional.
About my coming tutorials you can suggest some themes in the comment section below,
One last thing, make sure that you are doing electronics every day. See you next time