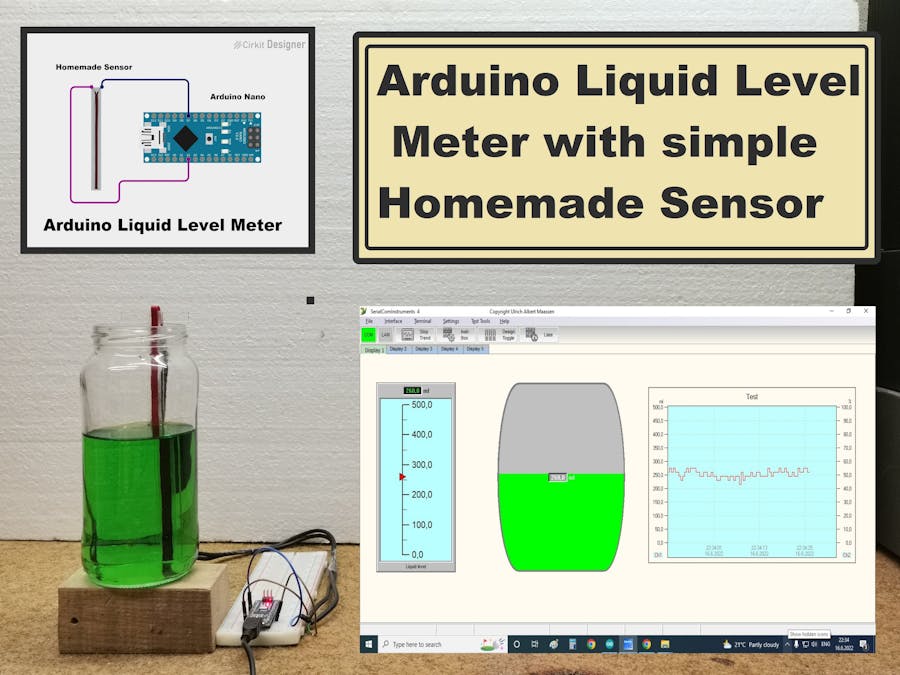
How to make a sensor yourself, and then with the help of a microcontroller to accurately determine the level of liquid in the container.
There are many different ways to detect the level of water in a particular container. This time I will describe a way to make a sensor yourself, and then with the help of a microcontroller to accurately determine the level of liquid in the container. I will also show you how this level and its change can be tracked graphically on the PC monitor.
Get 10 PCBs only $5 https://www.pcbway.com/QuickOrderOnline.aspx
To make the sensor, we need only a ribbon cable from old IDE disk or floppy drive. First we need to separate 4 wires from the cable, and cut them to a length equal to the depth of the container in which the liquid level is to be monitored. Then on one side we remove the insulation with a length of about 1 cm. We need to make the other end waterproof in some way.
When immersing a sensor in a liquid, its capacitance changes proportionally, and we detect this change with the help of an Arduino microcontroller. As for the Arduino, in this case we use the "Capacitor" library with the help of which we can measure capacitance with no external hardware, and requires one digital pin and one analog pin.
Next, I will describe the way we can monitor the state of the liquid in the container in graphic form on the PC monitor. For this purpose I will use the great Freeware software "SerialComInstruments". With this software you can create a set of virtual instruments for bidirectional connection with microcontrollers. There are a lot of different instruments available and more will be provided in the future. Instruments can be placed everywhere within the screen. The data protocol is very simple to enable even hobbyiest to come to a working project with only a few lines of microcontroller code in a short time. You can download the software (SerialComInstruments 4.1) at authors page:
http://www.serialcominstruments.freecluster.eu/?i=1
There is also a detailed manuals for the program in.pdf format.
As you can see from the demonstration, the precision of the sensor is really high and the response is linear, which is ideal for this case. We can even increase the accuracy by using two metal strips placed in parallel and laminated with plastic wrap.
I built this sensor after making the video and I can tell you that its accuracy is really great. The wider the strips, the higher the capacitance, and thus the resolution, i.e. the precision of the sensor. Of course the strips should be isolated in some way and not in contact with the liquid.
#include <Capacitor.h>
Capacitor cap1(7,A2);
int kondenzator=0;
int w = 0;
void SendString(byte InstrNo, int MValue) {
  Serial.print('#');
  Serial.print(InstrNo);
  Serial.print('M');
  Serial.print(MValue);
  Serial.print('<');
}

void setup()
{
Serial.begin(9600);
}

void loop()
{
kondenzator = (cap1.Measure())*100;
 //Serial.print(kondenzator);  // Measure the capacitance (in pF), print to Serial Monitor
  int w = map(kondenzator, 130, 330, 0, 500);
 // Serial.print(w);
    SendString(1,w);       // Instrument #01
    SendString(2,w);
    delay(500);
  }


