In this tutorial we learnt about the Arduino IDE installation and Driver Installation for Uno board.
Arduino is open-source hardware and software company, project and user community that designs and manufactures single-board microcontrollers and microcontroller kits for building digital devices and interactive objects that can sense and control objects in the physical and digital world.
Arduino IDE (Integrated Developer Environment): software that runs the Arduino environment and sends computer programs to the board
So you can just download the Arduino IDE, upload the sketches (i.e. the code files) to the board, and then you can see relative experimental phenomena. For more information, refer to http://www.arduino.cc
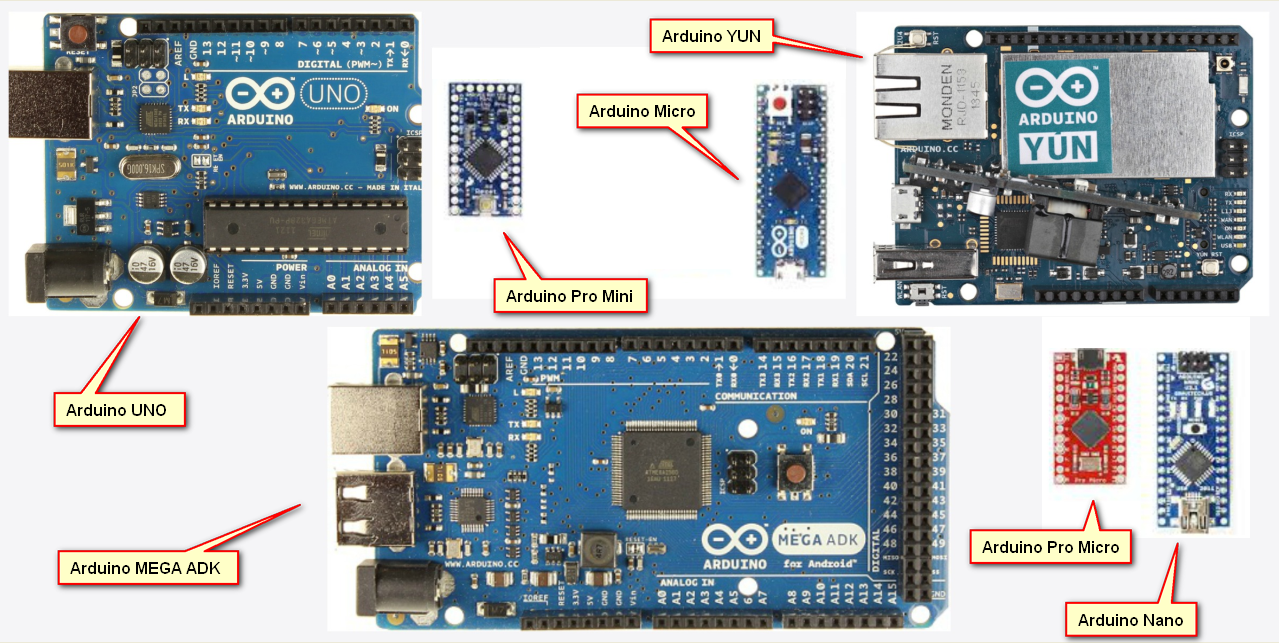
Different Arduino Boards:
Installation:
Installation:
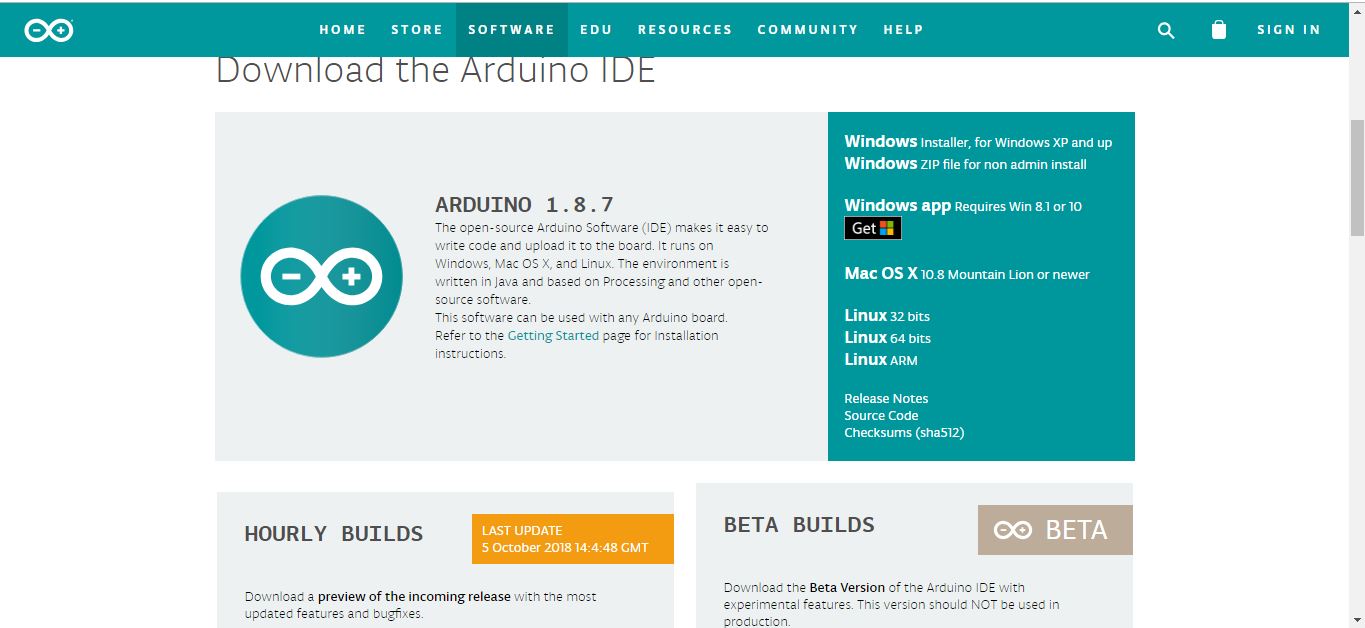
Visit the arduino website:
https://www.arduino.cc/en/Main/Software
Then select your operating system and download the latest version of arduino IDE.
Download the package, and run the executable file to start installation. It will download the driver needed to run Arduino IDE. After downloading, follow the prompts to install.
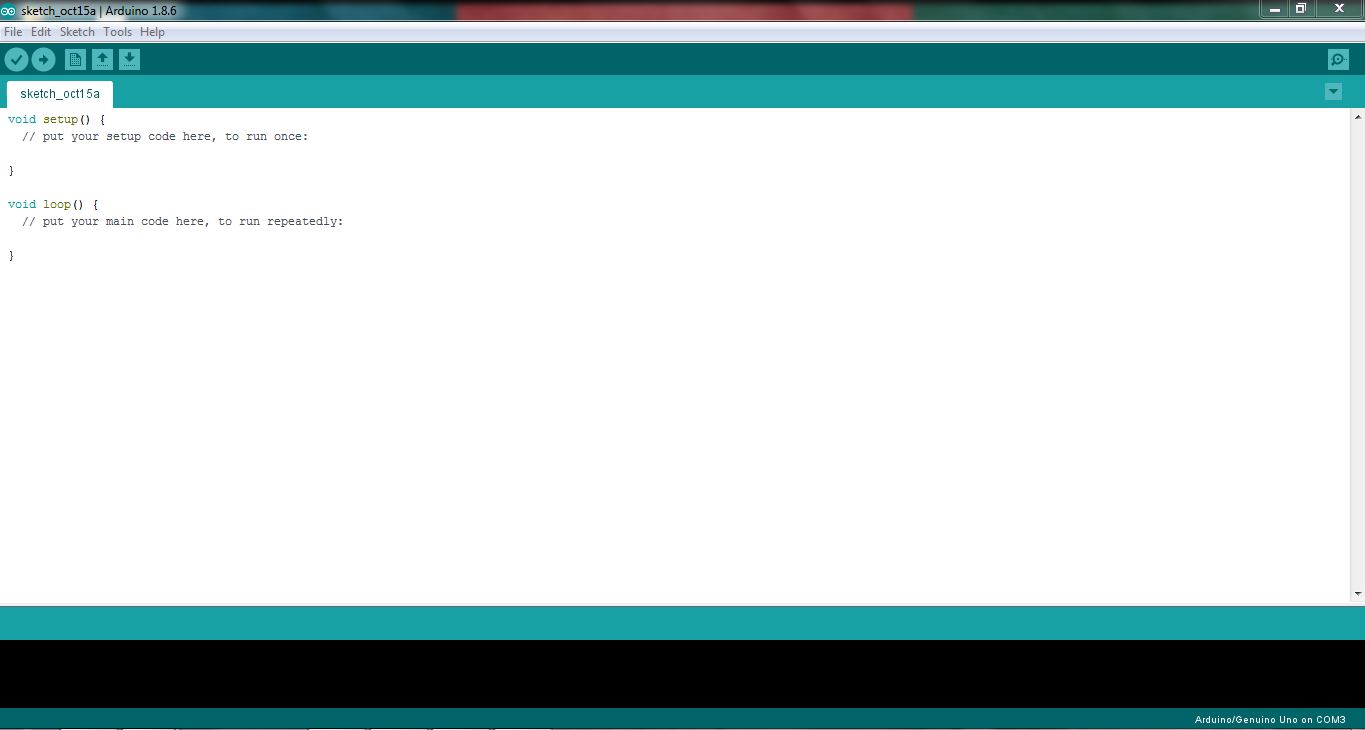
After installing, you will see Arduino icon on your desktop and double click to open it.
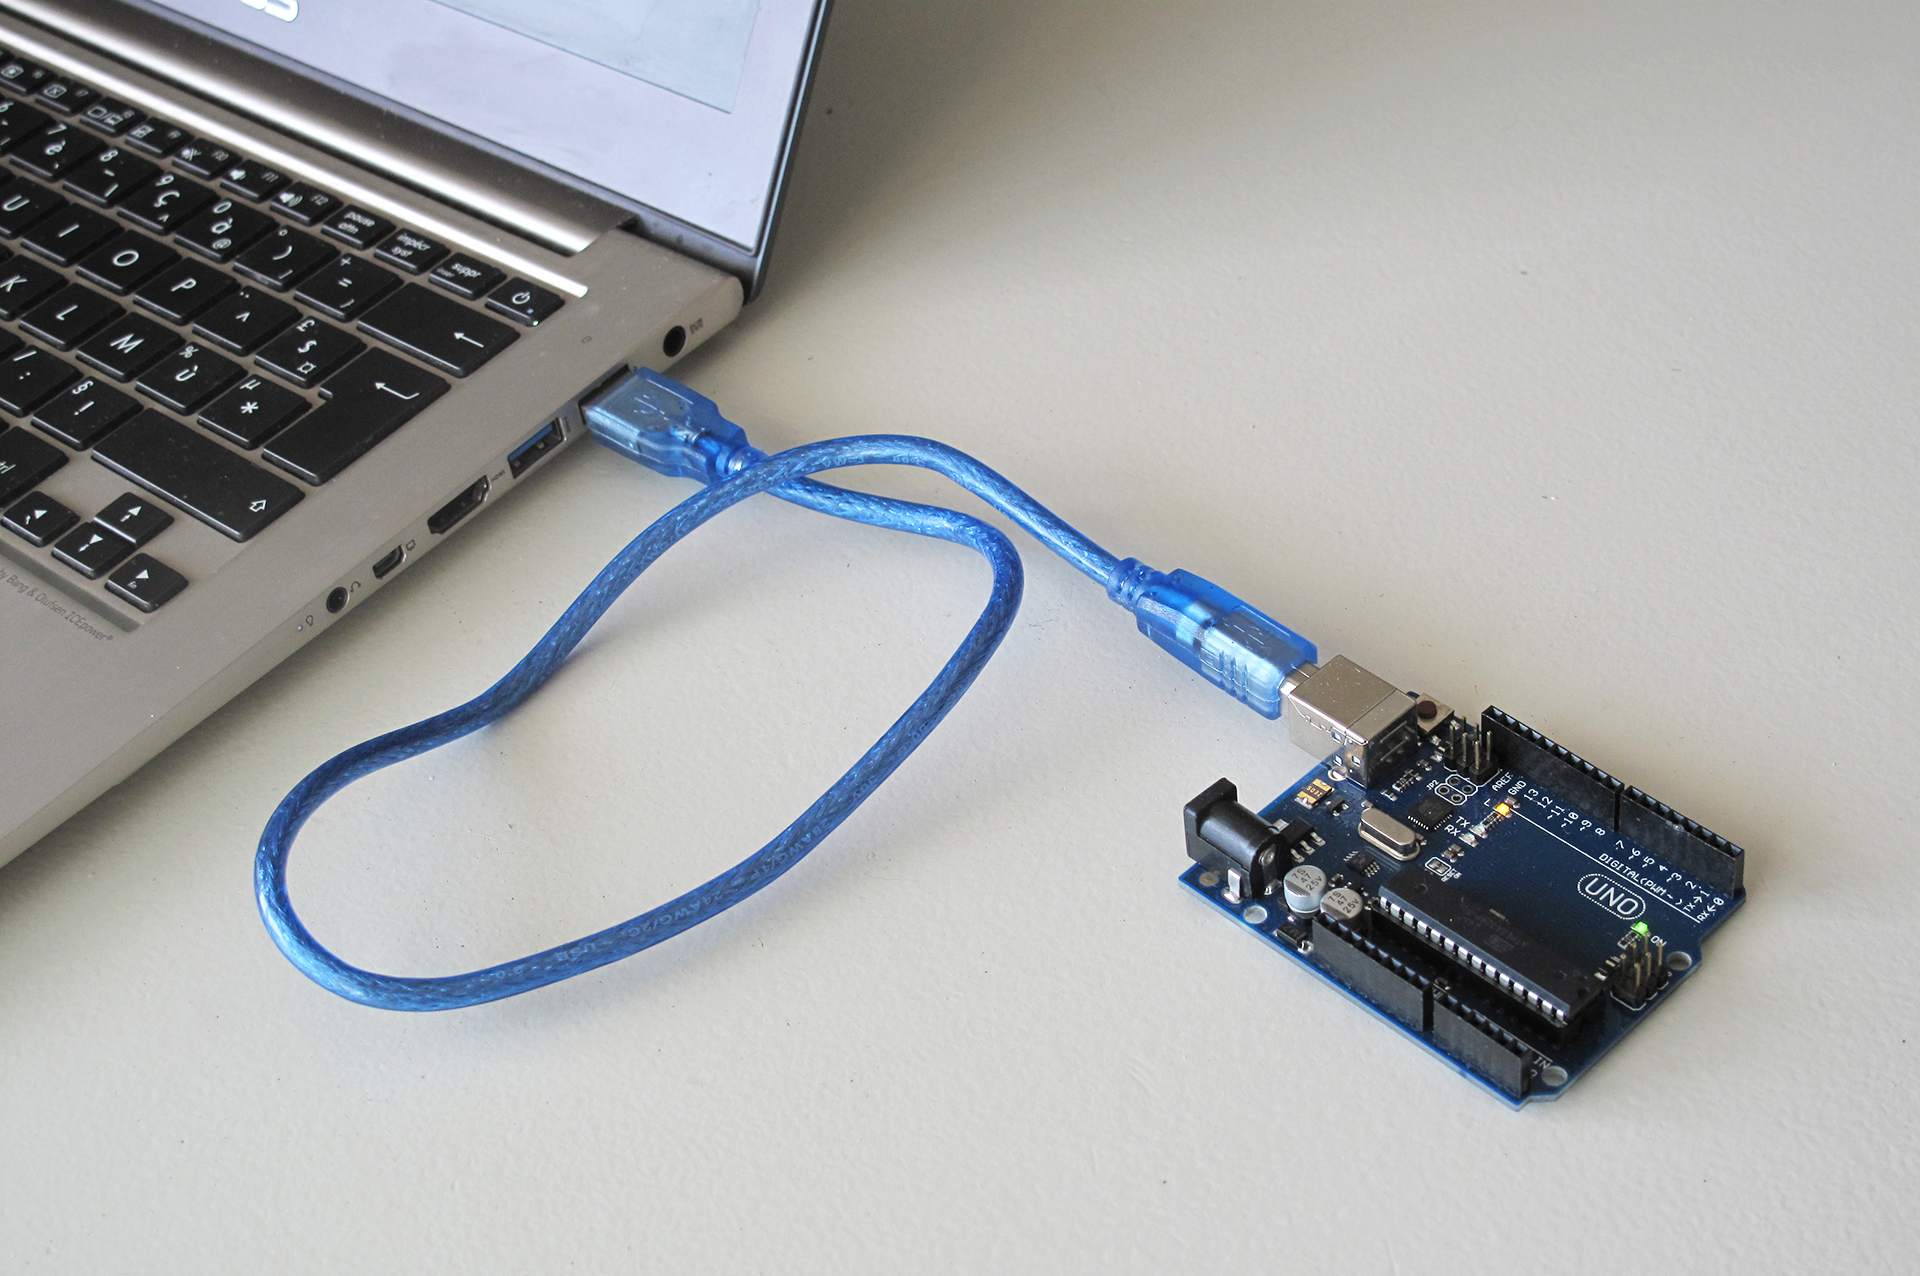
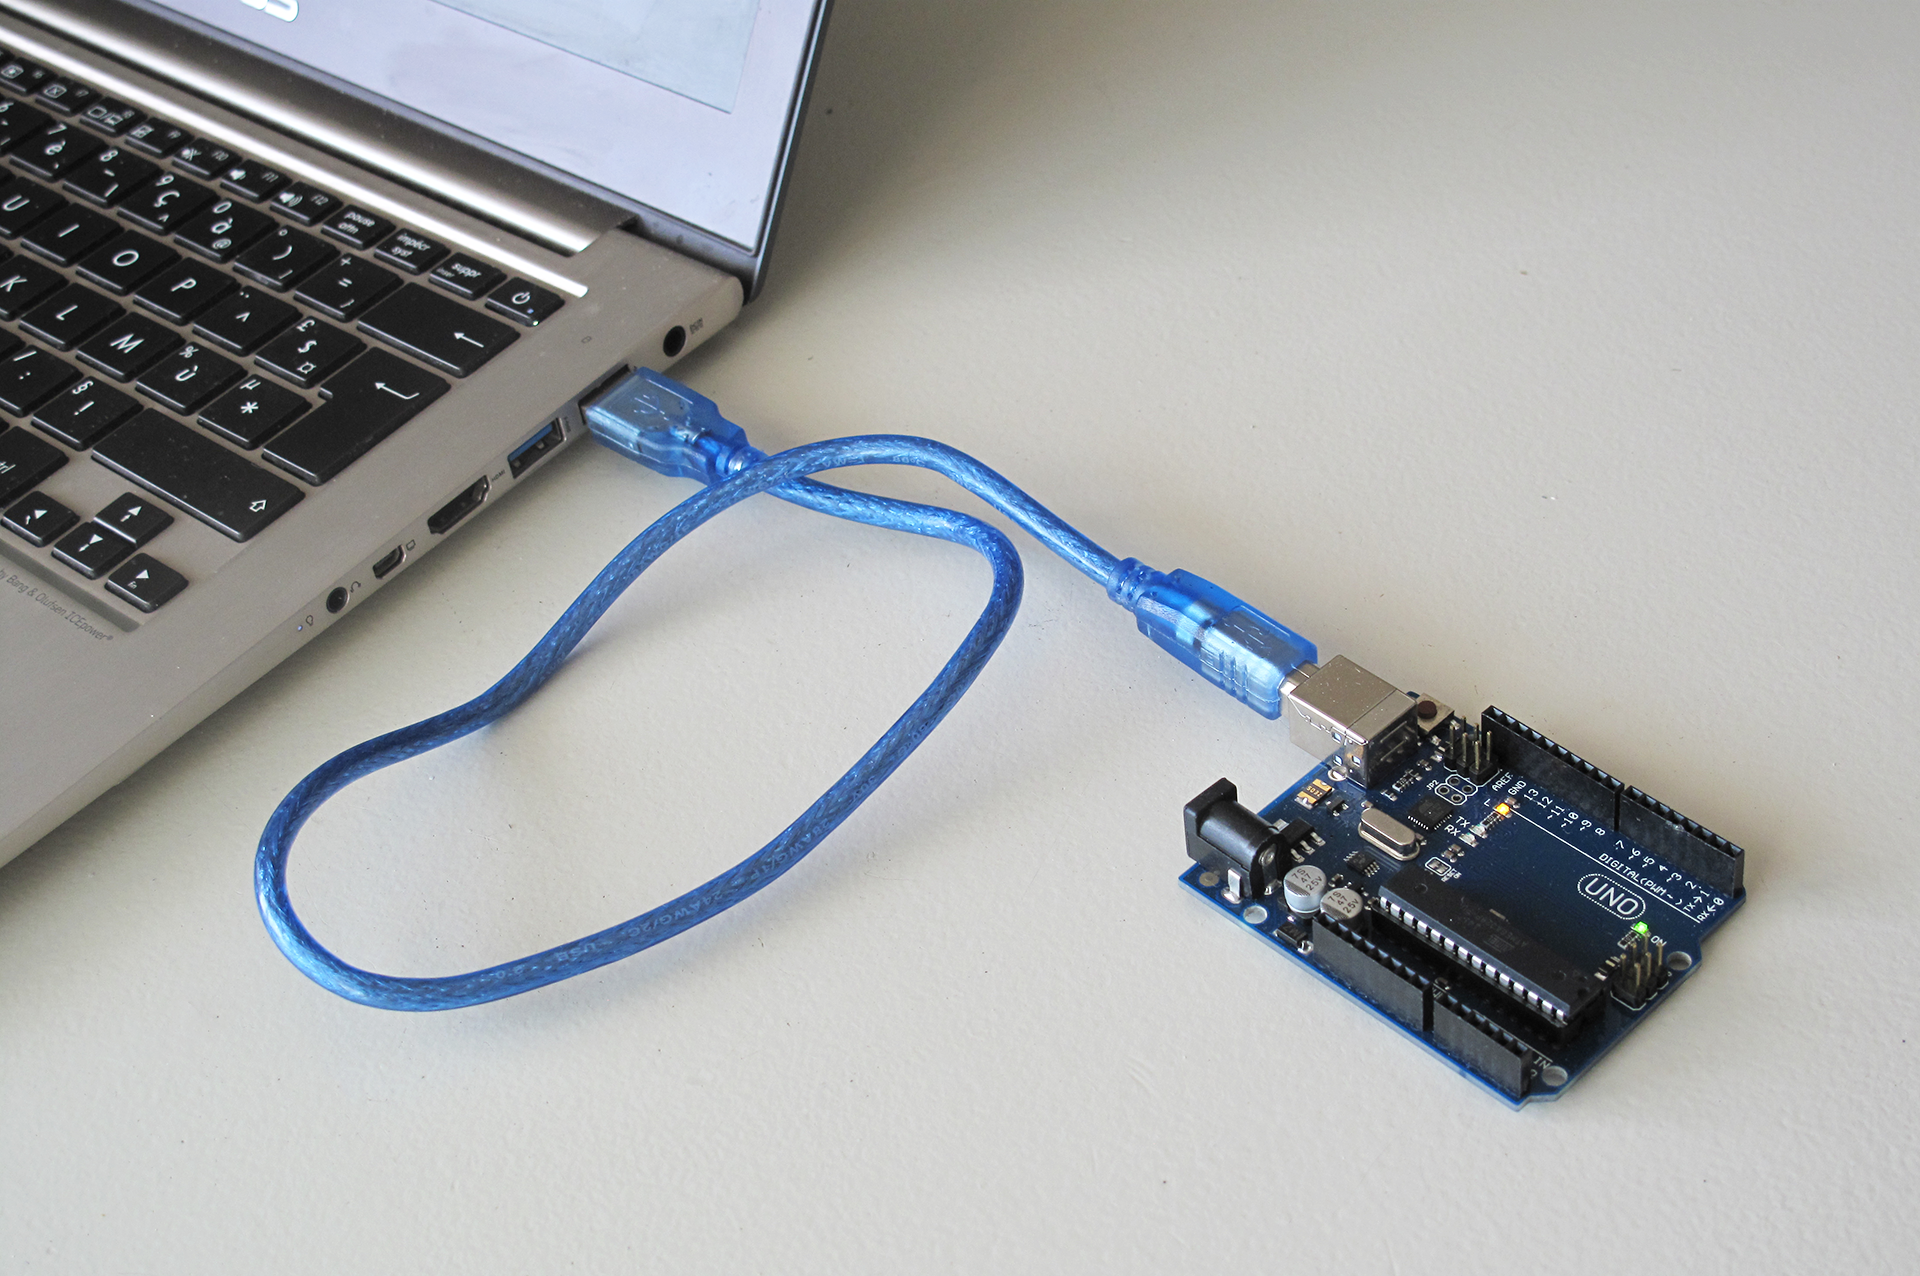
Connect the control board to your computer with a USB cable.
If your sketch fails upload, on the same page click troubleshooting
http://www.arduino.cc/en/Guide/Troubleshooting
Driver installation:
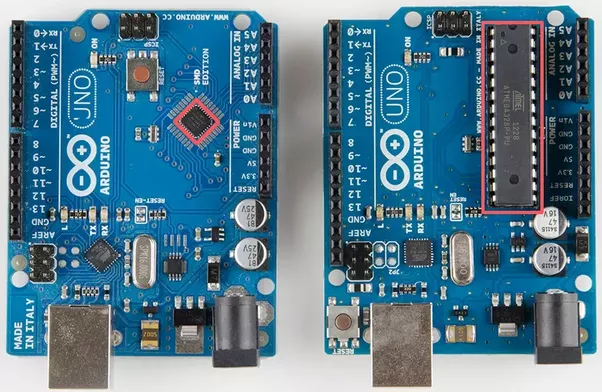
CH340 IC is a low cost USB to TTL converter IC. CH340g IC is used in SMD Arduino UNO & Arduino Nano boards. USB to TTL converter modules are also available based on this IC.
Initially connect your Arduino to your PC. In the device manager it will show “USB2.0-Serial” (as shown in below figure) which means your ch340 driver has not been installed.
You can download the Drivers for CH340g from below
https://goo.gl/YJjoHT
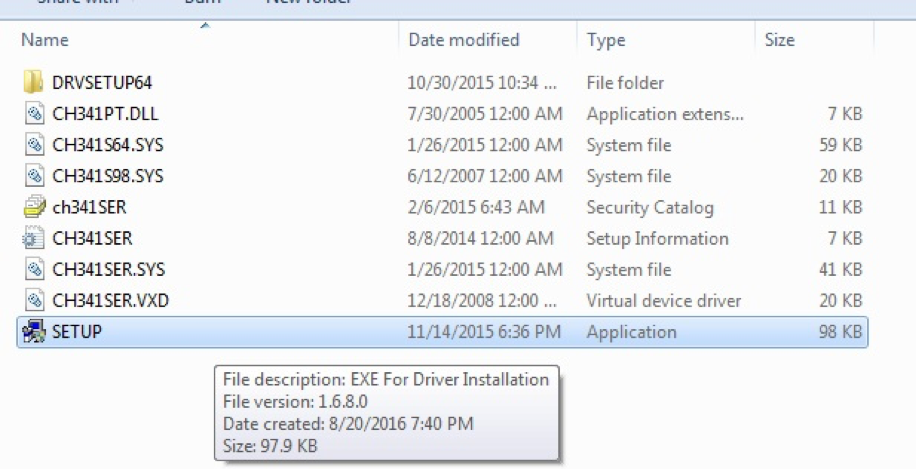
Now extract the CH340g drivers in a folder and in that you will find folder named “CH341SER” in which there will be a “setup” application file as shown below
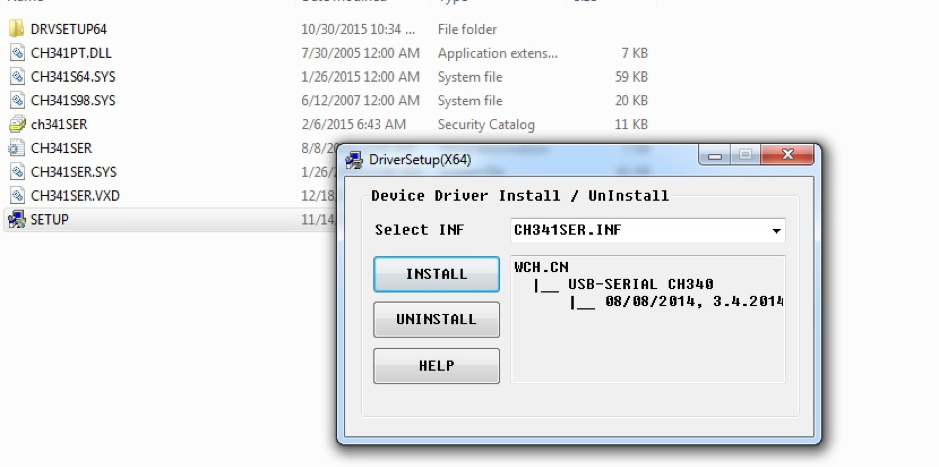
Open the setup file and a “Driver Setup” option will open. Just click on the install file.
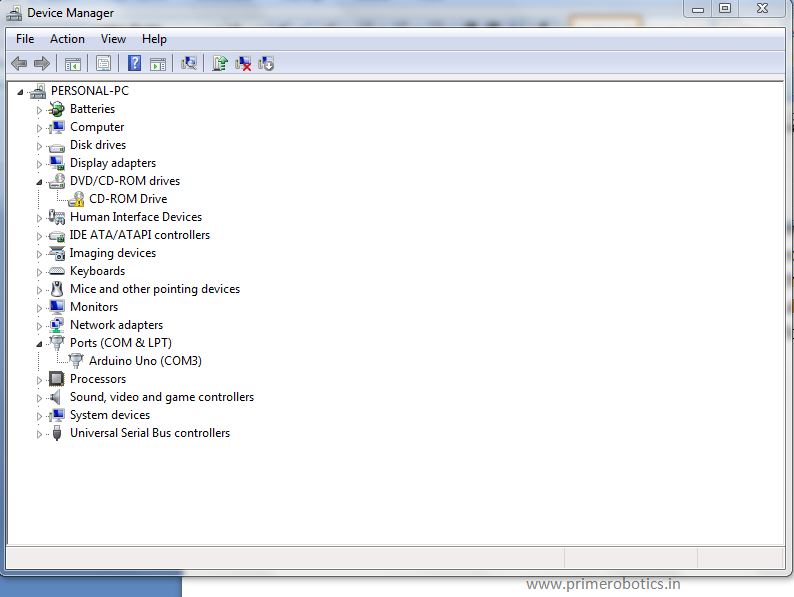
Once installed it will show driver successfully installed. Now go again back to device manager and there you will see that the driver has been successfully been installed and a com port has been allotted. In below image you can see that “com3” has been allotted for ch340g IC in my laptop
Board Selection:
Before uploading the code, you need to select the Board and Port.
Click Tools ->Board and select Arduino/Genuino Uno. If your board is Mega2560, then select Arduino/Genuino Uno Mega or Mega2560. If it's Nano, select Arduino Nano.
